DRAFT
4 Shooting Tips
4.1 Positioning the Camera
Make sure the camera is as vertical as possible. This will produce the image quality and eliminate or reduce the need to ‘level’ the image in your processing software. Keeping the camera vertical is most challenging when mounted on a selfie stick or helmet.
In general, put the objects of interest in the front of the lens, not to the side. Image quality is best near the front of the lens.
You get the best results when you position the camera to reduce or eliminate objects close to the lens (e.g., 10 ft). If there is no avoiding objects close to the camera, put those objects in front of a lens toward it, not on the side where the two images have to be stitched together.
Consider where you will stand when you take the photo. It can be challenging for the photographer not to appear in a 360 photo. If the camera is triggered wirelessly, you may be able to duck behind a tree or other object. Note however if there are objects between the phone and the camera, the camera may not get the signal to take a picture (e.g., if you’re hiding behind a big tree). If this becomes a problem, you may be able to set the camera to trigger on a timer, to give you enough time to get out of sight after pressing the shutter.
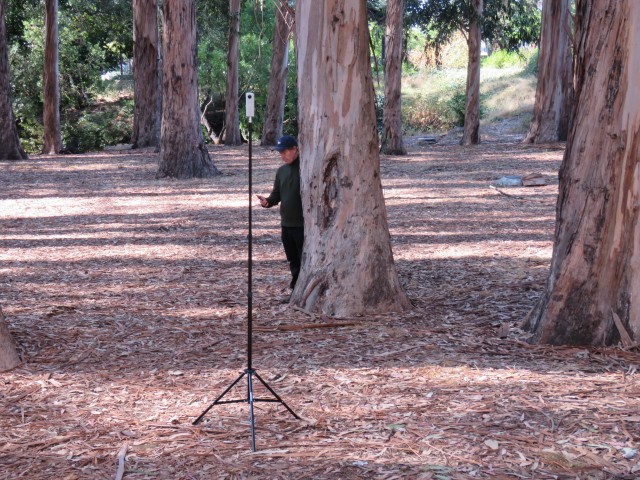
Putting your camera on timer can give you time to duck behind an object
- Remember also that the GPS coordinates saved in the image file are usually taken from the mobile device that’s controlling the 360 camera. Hence the farther you stand away from the camera when you press the shutter, the less accurate the location will be. Depending on the application, this could be an issue.
4.2 Lighting
You’ll get the nicest image when all parts of the scene are lit evenly. Overcast days can be good days for photography. On clear days, you may want to avoid the early and late afternoon hours when the sun is low in the sky.
If the scene is unevenly lit, for example some objects are in shadow, consider using HDR mode if your camera supports it. Note however that HDR mode doesn’t work as well when objects in the photo are in motion which can result in blur.
4.3 Collecting Ancillary Data
Depending on the project, you may need to record other information about the area. For example you might take notes about objects in the photo to add later as textboxes or accompanying text, close-up photos with a DSLR camera, or even video clips. After the shoot, you’ll need to match up your 360 photos with other data collected on your computer. If you’re only taking or two photos, that won’t be difficult. But if you’re taking several, there are some steps you can take to help you put them together.
To help you sync your 360 images with the other data, it helps to make sure all the devices are set to the same time. You can also keep a log of each of the 360 locations (i.e., nodes), and note the location name or number when you record other observations.
If taking addtional photos (with a different camera) or video to attach to your 360, consider taking a picture of a notepad with the location name before you start (the same way movies scenes start with a picture of a slate). Or you simply take a picture of your hand, so when you view the files on your computer you’ll be able to easily see when a new location is coming.
4.4 Field Kit
☐ tripod or monopod
☐ lens cloth
☐ extra battery for the camera (if possible)
☐ power pack (for recharging tablet and/or camera)
☐ weights or sand bags or other for tripod legs